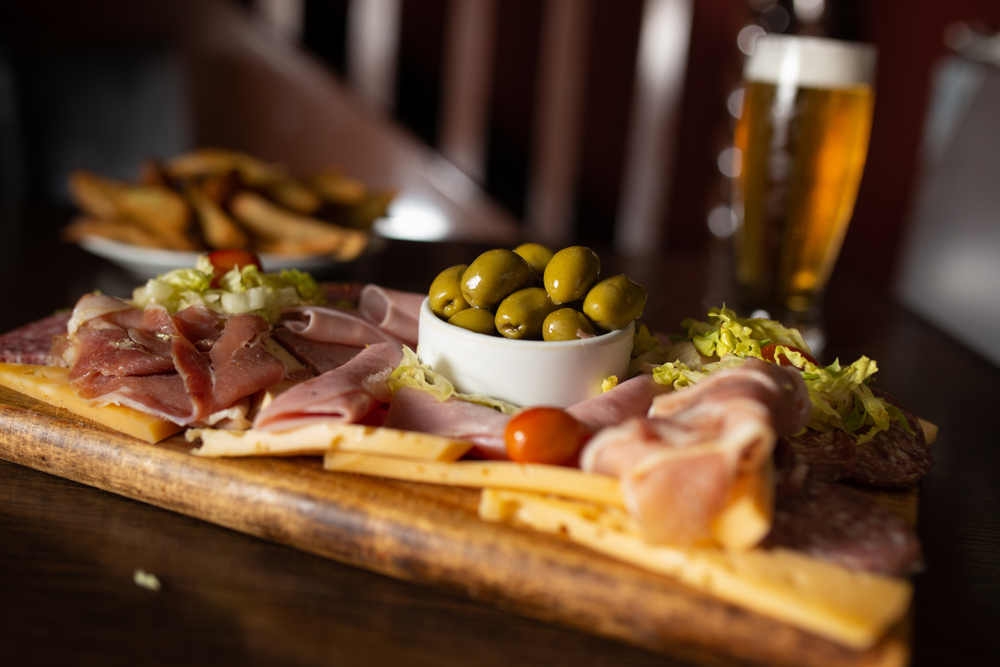
Impress Your Loved One (Or Yourself) With The Ultimate Cheese Board
The best gatherings (or Friday nights at home with the family) always include delicious food. If you’re looking to take your menu up a notch, consider offering cheese boards (or charcuterie boards) to your loved ones. With a few simple steps, you’ll impress even the pickiest food critics with these visually stunning and equally tasty creations. Here are a few easy cheese board tips to get you started
Choosing a Board
Your cheese board can say a lot about your personality. From slate to wood, round to square, there are so many options available for a quality board. When not in use, cheese boards can be part of your kitchen décor, so think about a finish that coordinates with your current style. Choosing something with edges is also a great way to keep the food contained on the board (and a great option if kids are on the guestlist).
Boards that come with cutouts for small bowls are nice but not as versatile, so think about your future cheese board plans when purchasing. This expandable option is a great choice for a large board that doesn’t permanently take up a lot of space. Whatever you choose, make sure to follow any instructions about cleaning and oiling the board pre/post-feast.
Cheese Choice
Did you know there are categories of cheese? Firm, soft, and semi-soft cheeses all bring something different to the party, and you should put at least one of each type on your cheese board (try for at least 4 cheeses total). Start by adding your favorites and branch out from there. When compiling options, think about bold versus mild flavors; Cheddar and Feta are strong, so adding a milder Swiss cheese will help balance your platter. Don’t be afraid to include flavored cheeses as well – if you need something spicy on the platter, try a jalapeño Havarti!
The final consideration? Shape! Cut some cheese into triangles, some into squares, and put the soft cheeses in small dishes or mold into round domes. Aim for 1-2 ounces of cheese per person. Need help with options? Here’s a great roundup of varieties that are fairly easy to find.
Meats/Proteins
Aside from the cheese, meats are the next most important part of a cheese board. Traditionally speaking, cured Italian meats are the best option (think salami, prosciutto, etc.). Aiming again for 1-2 ounces per person, choose meats that are your favorite and go from there. Looking for a vegetarian option? Try roasted chickpeas or nuts along with a spreadable bean dip.
Accompaniments
Even though the accompaniments aren’t the star of a cheese board, choosing the right ones can make your platter pop! Breads and crackers are a must – choose options that pair well with the cheeses you’ve selected (so round crackers for round cheese and crispy bread for spreading warm Brie). Beyond these items, try to add fresh and sweet elements to balance out the salt and tanginess of your meats and cheeses.
Fruits and vegetables are easy choices here, and you can use whatever is in season (or already in your fridge). Think of these as palate cleansers – biting into a crisp cucumber slice leaves you ready for the next round of cheese! Dried fruits and honey or jam are also great options for some crunch and sweetness.
Add Color and Surprises!
The best cheese boards have a bold visual impact. Make sure to consider color when you’re adding final touches and accompaniments. Some sprigs of parsley or rosemary will add a nice fragrance and pop of green, while a berry compote can infuse some bright color. If you have a lot of cute cheese knives to show off, adding a bowl of olive tapenade or homemade hummus is a great surprise.
Arranging it All
You’ve assembled the delicious components – now what? When it comes to placing everything on your board, don’t overthink it. Whether you end up with something neatly organized or more whimsically arranged, your board will showcase all of your hard work. Start by placing something in the center of the board (your baked Brie, a bowl of roasted nuts, etc.), then add similarly-sized elements to each corner.
Once you have these anchors, start filling in the gaps! It’s best if you have some separation between cheeses so you can easily see all the offerings. If you like the abundant look, don’t be afraid to pile things up a bit. Finally, take a step back and look at your creation – where can you add the pops of color? And don’t forget to snap a picture!
Once you start experimenting with cheese boards, you’ll want to prepare all of your meals this way! So make your grocery list and jump right in!
For more like this article, click here.


